Monday, December 31, 2012

Last of the Christmas Challenge.

These are the last entries of the Christmas Challenge. I did not take a picture of my sweater mani- I didn't like it all that much : )

New Year's eve nails!..... Gunmetal with an accent nail in glitter heavy gold, with some simple black stripes and '13.... Happy New Year.!

Monday, December 17, 2012

Christmas nail challenge....


Here are more nails to continue the challenge. I have found that following along with a "list" helps me decide what to create. I have many other ideas, but keeping on a "schedule," seems to take away the guesswork. Enjoy!
 
Snowmen mani!
To add some "interest," a tree! :)
* Christmas lights *
Santa....so cute.


There are no words............


Saturday, December 8, 2012

12 Days of Christmas Nails Challenge


Here are my nails for the challenge so far...... are you following along too?


Sunday, December 2, 2012

Christmas Nail Art Challenge.....

     Hi everyone.....Let's try something new.... I'm going to try to follow a nail art challenge- that is if I can stay focused. Basically, all you do is follow what the challenge is on that day and paint your nails accordingly... (ie: December 1st is red. So you paint your nails any way you'd like but include red in your design) Really simple, right?.... you can either just check my blog when I post a new entry or follow along and send me your nail art. Maybe I'll post some at the end of the month! .................. I have some catching up to do......Merry Christmas and happy polishing!


Tuesday, November 27, 2012

Quick Mini Mani-fixes


I normally wear a manicure for a few days before I change it. Sometimes I`m pressed for time and need to come up with something to fix a chipped tip or do a cover  up of a really wrecked polish. My go to miracle worker is often my crackle polishes. They can mask a dented or dinged nail in seconds without having to pull out the remover, cotton balls and deciding on an entirely new mani. By adding a design, a coat of glitter, crackle or just a new clear coat you can hide most boo-boos. Other times, I like the color of the polish I have on and decide to dress it up into something different. I usually do a mani that can be "converted" later on in the week. I do this simply because it is quicker and it's one less time my nails are exposed to the harsh chemicals of the nail polish remover.  An understated french tip can be dressed up with polka dots or a stamped image, a base color can be fashion forward with a bold design. It's easy to go from drab to fab in just a few short minutes. Sometimes I'll cover up most nails and leave an accent nail of the original design. : )

I liked the leaf stamp image from the previous post- a quick change up with a gold crackle and a top coat.


Love this slate blue, but I dinged it up at work.....

Add a cloud design of a darker blue and Viola ! all dings hidden!

French mani- in fall colors...

Accent nail

After a few days the "leaves" were chipped, so I painted each nail a different color, and added a polka dot accent nail.

The start of Christmas nails for Black Friday, a nice deep red, however- I didn't let them dry enough and took the laundry from the dryer... instant texture (yuck!) ... quick cover with glitter!!


Wednesday, November 7, 2012

. . . . Nail Stamping . . .

                 I get tons of compliments on my nails, (hence the start of this blog), but part of my "success," is from nail stamping. A quick and easy way to add designs and images to your nails without the need for stickers or expensive trips to the nail salon. I can change my nails to match my outfit or mood or whatever odd whim I have at the time. Nail stamping images can be anything from flowers, hearts and peace signs to characters, holiday images and words. They can be a simple accent image or one that covers your entire nail. There are different companies that make stamping plates. I use" Bundle Monster," I bought it from Amazon.com. Aside from the plates you need the stamper, scraper and nail polish. Most brands of nail polish will work, "Konad," is a big brand that pushes their polish- but it is expensive and not necessary. I have great success with Wet n' Wild creme colors, Sinful Colors and Pure Ice brands. If I use a glitter polish it has to be one that is "glitter heavy," more opaque than transparent. But enough talking. . .  let's get started. . . . .


Here are a few of my plates,stampers and scraper.
After picking a design and polish, paint the image.
Lightly scrape off the excess polish, so just a little remains in the etching.
Press the stamper onto the image.
The image picked up fairly well. The trick here is being quick. If you take too long the image can dry on the plate and not pick up or it can dry on the stamper and end up being useless.
Super grainy picture (sorry) After picking up the image, "roll" the stamper over the nail and press.
Bronze leaves on a brown background. OPI "Sonata in bronze" and Sonia Kashuk "Chocoholic"


Wednesday, October 31, 2012

Halloween Wrap-up!

Halloween eyes. Black background, dotted white with colored "pupils."

Gray background, stamped swirls in black layered with white skull.

Gray background (from previous manicure) covered with black crackle and a stamped image.
My first attempt with nail stickers. Not too thrilled with the ripples and crease or the fact that it lasted for 45 minutes.

"Split nail".. 1/2 orange, 1/2 black layered with corresponding glitters and a middle stripe of purple glitter down the center.

 I hope you enjoyed my Halloween designs and found inspiration for some of your own. : )


Friday, October 26, 2012

Wednesday, October 10, 2012

Halloween Nail designs ~~>

           Here are a few designs I have done for Halloween so far:

 I used the tips guides for a simple black tip french manicure.
A simple grey (Pure Ice "Kiss me here")-I don't quite know what it is about this color but I love it.
A quick mani. in deep, shimmery brown (Pure Ice "Magic") yes I know ... "eek, brown nails!"- but they were actually pretty nice.

Another easy mani. was a white base (Sinful Colors #101)with black crackle (Funky Fingers "Black Scales") and an accent nail of Jack Skellington (done free hand).
  And last but not least a free hand tip alternate green (Kleancolor#118), purple (Jane #54) and orange (NYC #112 with a coat of Wet n' Wild #222c) with stamped images of skulls, cats, bats and vines. I used Sinful Colors white and black for stamping.

Tuesday, October 2, 2012

Halloween launch... ('0')


This is going to be an over-packed post. It's my Halloween kick-off, a brief tutorial and product review. Let's start with a tutorial. I'm going to test out Nailene Perfect tips French Polish Guides.


 I picked these up at Walmart for about $3 for 96 guides. Basic application for a french manicure is as follows:
     1) Apply the guide across the curve of the nail to separate the areas
     2) Apply nail color to one area of the nail. Let dry. Peel off the guide.
     3) Apply nail color to entire nail
     4) Apply top coat (optional)

However- I'm not doing your average french manicure... so this is how it's going to work.
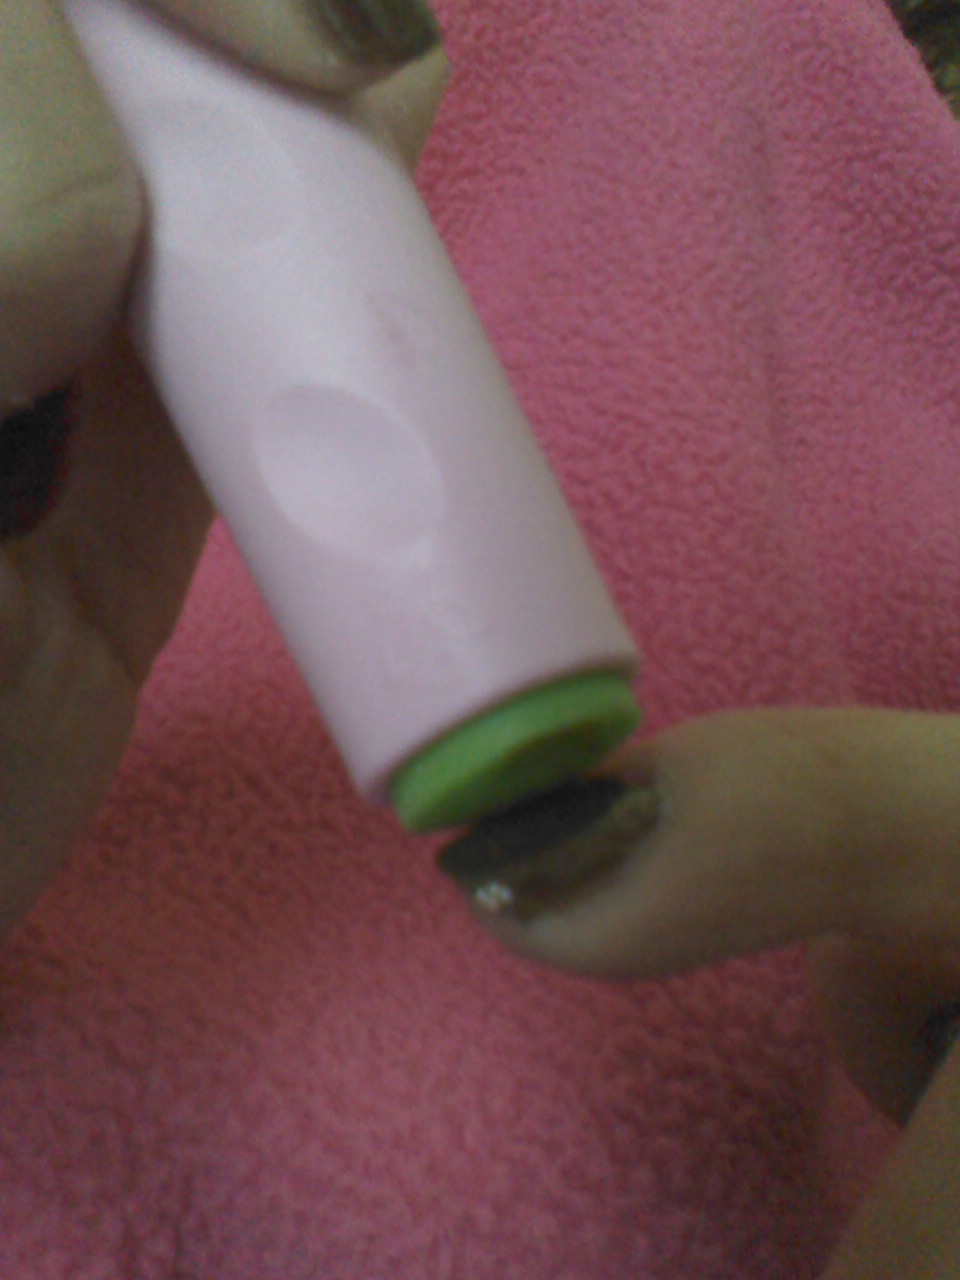
1) Apply Nailaid growth clear base coat- let dry thoroughly
2)Apply Nailene nail guide
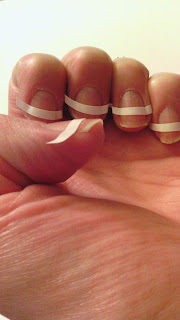
(As you can see, you don't have to follow closely to the nail tip, I moved the guide closer to my cuticle for a different effect.)

3)Apply first nail polish  (if you're doing 2 colors- if not skip to step #4) let dry and then carefully remove the guide. I did notice that some of my base coat did peel off with the guide, but my main color ( Funky Fingers # 5287 Riot) stayed put.
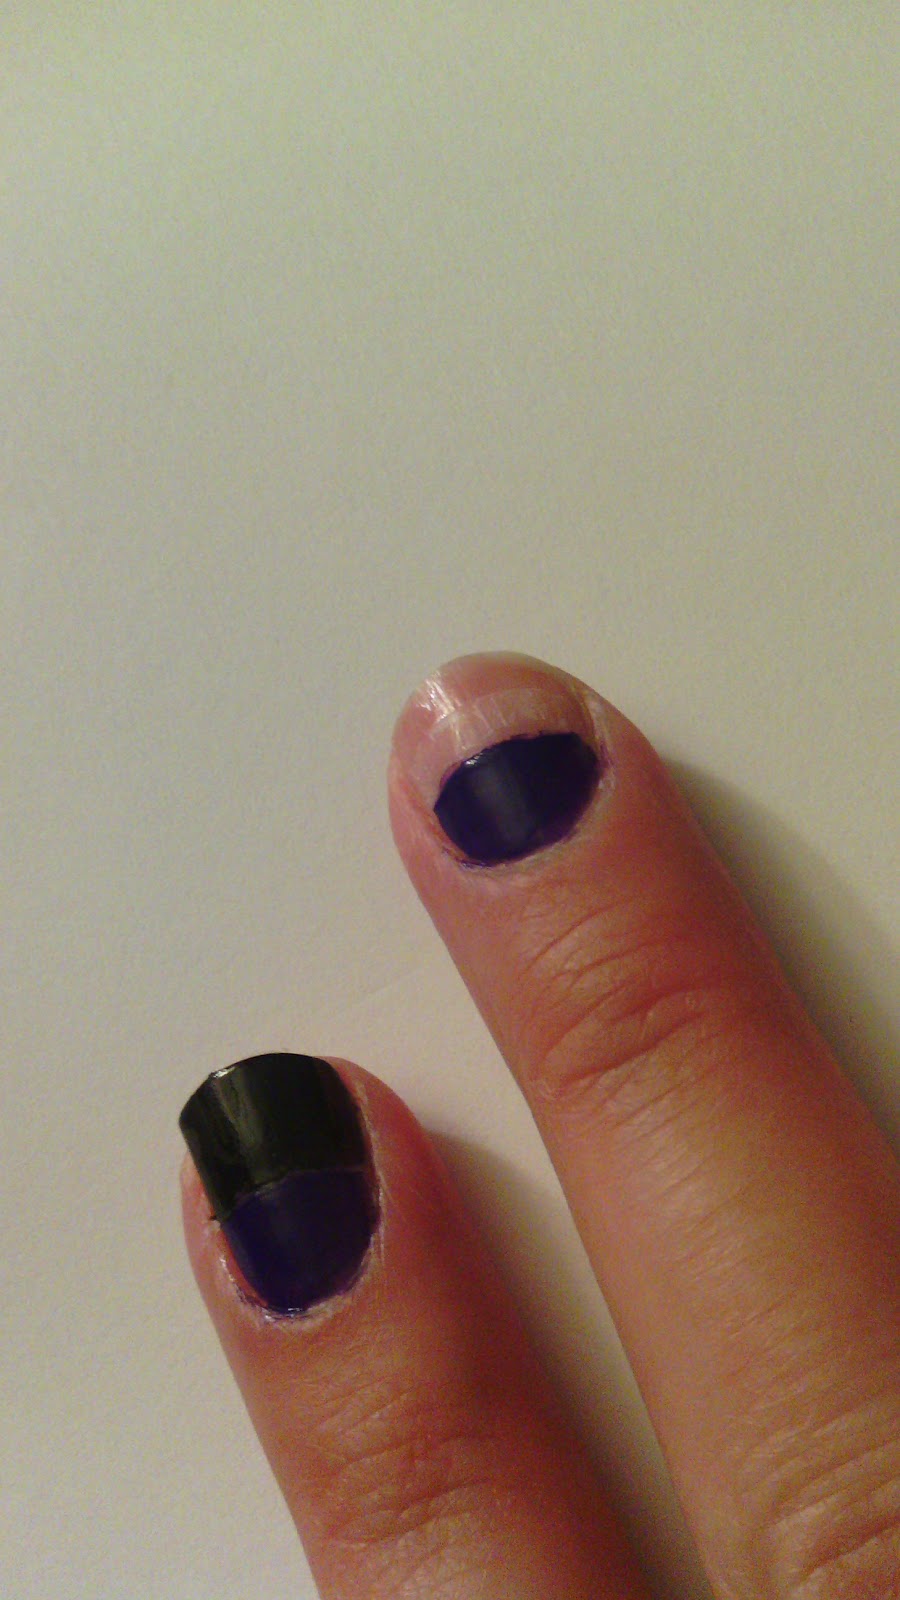
4)Add tip color (Sinful Colors #103 Black on Black)
5) Lastly, finish with OTD top coat, clean up your edges and you're done!


All in all, the manicure was a success : ) The guides made the curvatures even and uniform. The base coat peeling is a little frustrating, but not a big deal. The second color and top coat cover any flaws. If you're going to try this - just give yourself lots of drying time. I will definitely use these guides again, they take the guess work out of a french tip manicure and they are real simple to use.


 * I did add a stamped image of a spider web and a spider to separate the black and purple. Stamping will be another tutorial *